Thursday 31 May 2018

Flowers and confidence

Hello everyone,

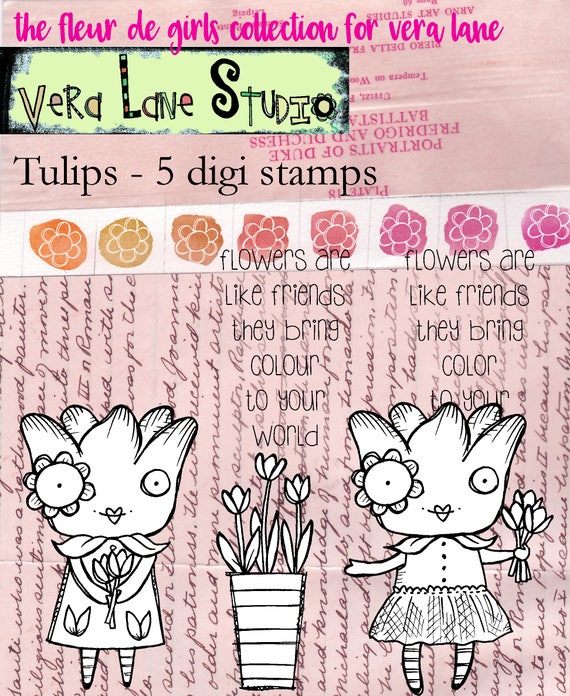
and welcome to my weekly Vera Lane Studio post. I have two projects today; 1 postcard with the latest release "Tulips" and a journal page with one of the 'Menswear' girls. I used the one from the collage sheet. They are fabulous if you are in a hurry. I wasn't in a hurry but just like the way these are coloured. I did spend ages on my background though and I still am not sure whether I like it or not, oh well....


Here is my postcard. I love the simplicity of this and it is quite patriotic I suppose. The vases are coloured in the colours of the Dutch flag and the tulips are orange, the national colour of Holland. 
I resized them and printed them on white card stock which I then cut to the size of a postcard. 
I coloured everything with Copic markers. The sentiment was cut apart and glued on. 

You will find this set HERE


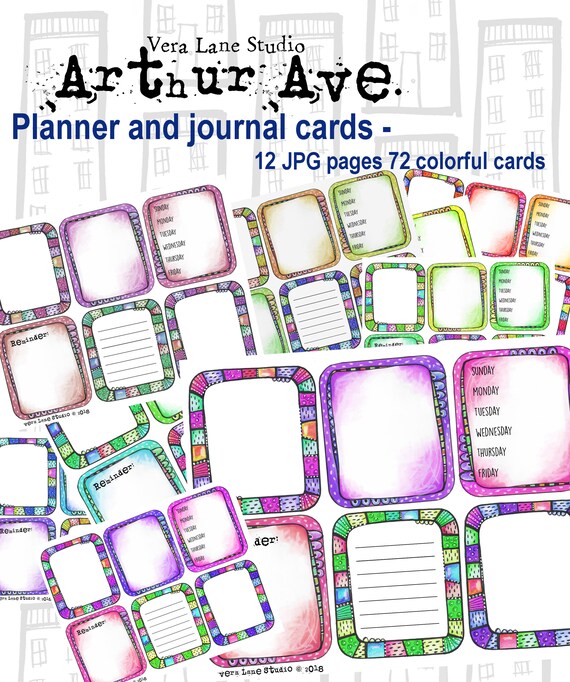
This journal page took me ages. It started out much yellower but I then decided I didn't really like that. The good thing about acrylic paints is though that you can keep on adding layers. That't exactly what I did. Until I was happy, sort of... lol 

You will find 'Menswear' HERE


Thank you so much for stopping by today ! 

Tuesday 29 May 2018

Stay cool

Hello everyone,

I have a little tag to share today. I made this with the lovely AALL & Create stamps. I can't get enough of them. I kept it really simple; this tag is a one layer piece.


I think it is fun to combine stamps that are totally different. So here, I have given Gwendolen a hat made of one of Tracy's flowers... lol 

Here's how:


These are the stamps I used.. 


I stamped the flowerhead first, leaving on a piece of the stem. It made me think of a baret.. 
I then masked off the hat and stamped Gwendolen.


I used the sentiment from "Positive Vibes". (The lama - I have some ideas for him too !)


I then started colouring...


A work in progress... 


After I coloured her,  I added colour to the background also with my Copics. I stamped the little alphabet from the same set with Distress Ink in Tumbled glass and added some doodle lines.

That was it ! 

If you want to know more about the products or where you can buy them please visit:


Thank you for stopping by today ! 


Friday 25 May 2018

A trio of Quirks

Hello everyone,

and welcome to this blogpost where I'd like to share a trio of ATC's with the lovely AALL & Create stamps and stencils.


And here is how I made them... 


I chose these stamps and stencil to use. In the end I didn't use the #3 set. 
The background papers are mop-ups from a gelli print session. Sometimes these are nicer than the actual prints. 


I used this stencil by Kassa Haselden and it is so versatile. So many different possibilities. I have three very different ATC's with one and the same stencil. 
I used a blending tool and Distress Oxides with the stencil and then heat embossed the ink with clear powder. 


Choosing the images and colouring them is so much fun ! 


All ready to go ! 


And here is the result ! 


I you are interested in any of the stamps and stencils by AALL & Create please visit :
for more information about the products and a list of worldwide stockists.. 

Thank you so much for stopping by today ! 

Lovely day

Hello everyone,

and welcome to my weekly Katzelkraft post. I have made a card this time and I just had to use the farm animals again. They are so much fun! I did try to keep it simple today.


I stamped the animals using my stamping tool. I used Memento ink because I wanted to colour them with Copic Markers. And that is what I did; after that I added some light blue Distress Ink around the edges using a blending tool. Lastly I stamped the sentiment, separating the words for better placement on the card. I did this by using masking tape over the stamp while inking it and taking it off to stamp. 


a different perspective...


I have used the following stamps for this card :

KTZ206 - Carpe Diem Quotes
KTZ208 - La Ferme des Animaux

Thank you for stopping by today ! 


Thursday 24 May 2018

Onions and rabbits

Hello everyone,

and Happy Thursday to you !

Today, for Vera Lane Studio, I have made three projects; one tag, one postcard and a card.


This tag is a mop up gelli print, when you take off the last bits of paint off your plate.. I added some tissue paper on the right hand side and some washi tape for this little onion to stand on. She was coloured with Copic Markers. What else ? lol 

You'll find her and her sister HERE


This postcard was made with pattern paper. I used two pieces of the same 6 x 6 pad. That way they match. I also put a strip of silver glittery washi tape over the spot where the papers meet. 
The little rabbit was printed,  coloured and cut out. The sentiment is from the same set. You'll find it HERE


This simple card is made with some pattern paper, a journal card and one of the girls from the collage sheet... simple ! 

You will find the Journal cards HERE


You'll find the Arthur Ave collage sheet 1 HERE


Thanks for stopping by today !

I'm late, I'm late...

Hello everyone,

and welcome to my inspiration post for VivaLasVegaStamps! today !

I have made an Art Journal spread and I have gone for an Alice in Wonderland theme. I love Alice in Wonderland. Strange really if you know that I only started to read the books as an adult. I got really interested when I started crafting as the characters are great for cards, tags, journals... you name it.


This spread was made in my homemade gel printed book. I learned making this in a workshop with Birgit Koopsen. You make lots of gel printed pages and then glue them together to make a book. 
There is a video from Birgit to show the process HERE

I started with heat embossing the Dandilion here and there on the pages. I used fine detail white embossing powder by WOW. Next I stamped the background with similar colours of Archival inks as the background and with grey and black for contrast. Next I added some washi tape and stamped the rabbit and the sentiment. 


The rabbit was coloured with Copic Markers and cut out. I rest amped him onto my page and was then able to cut off small details like the watch chain. I then adhered the coloured one over the top. I also added some shading under him. 


The stamped sentiment was cut into smaller pieces and adhered to the page. A little doodling with a white pen finished the whole thing off. 

I used the following stamps:

Thank you for stopping by today ! 


Tuesday 22 May 2018

A little notebook

Hello everyone,

and welcome to my post for AALL & Create.

Today I have altered a notebook. These make great gifts and are fun to make. I have lots of photos but have also filmed the process. You'll find the link to YouTube at the bottom of this page.

For more information and a list of worldwide stockist please visit the AALL & Create Website HERE.


Turned out rather nice I think....


I bought these little notebooks in a department store but I don't like the purple outside so I gave it two coats of gesso....


After it dried I added model paste through a stencil (#22 by Autour de Mwa)


Next is colour... I used blues today.


If you want to know how I made the circles grungy you'll have to watch my YouTube Tutorial... 


I created this orange and red background with a gel press plate (watch how in the YouTube Tutorial)


After stamping I cut all the flowers out. 


And here is the end result. 


and the back... 


Both sides at once ! lol 


I also added a ribbon to keep the book closed. 


I have used the following stamp sets:

#70 Quirky Blossoms by Tracy Evans 
#71 Natures Garden by Tracy Evans
#80 Lined by Olga Heldwein

Stencil:
#22 by Autour de Mwa

You will find a list of worldwide stockists for these fabulous products HERE.

Thank you for stopping by today ! 

Oh so lovely

Hello everyone,

For today's project for Um Wow Studio I have made an art journal spread. I kept it simple this time because sometimes less is more and I love how it turned out.


I had one piece of chipboard from the Flourishes Two set left and thought it would be nice to turn it into a swing for this little girl. I didn't alter the chipboard this time but left it natural. I tied some string on either side to represent her swing ropes. 
The background was made with a piece of pattern paper which I found in my stash. I added some acrylic paint around the edges and behind the girl and also some stamping and doodling. The sentiment was actually the name of the pattern paper, it was printed on the bottom edge and I just cut it off because i thought it suited her. 


I have used this set of chipboards:


You will find them HERE


Thank you for stopping by today !